Comprehensive OBS Setup Guide: Download, Install, and Configure for Recording and Streaming
Whether you're diving into video recording or live streaming, having the right software is essential for producing high-quality content. OBS (Open Broadcaster Software) stands out as a versatile and powerful tool, offering a range of features to meet the needs of both beginners and professionals.
This guide will walk you through the essential steps of downloading, installing, and setting up OBS. From configuring your audio and video sources to ensuring everything runs smoothly, you'll be equipped to start capturing your content with ease. Let's get started on transforming your video projects with OBS.
Downloading and Installing OBS
- Open Your Browser
- Begin by opening your preferred web browser. For example, Opera GX is a great choice for gamers.
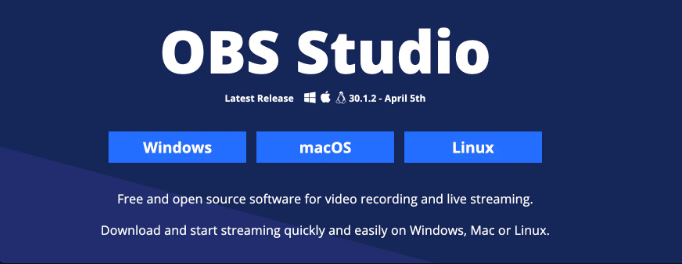
- Navigate to obsproject.com to access the OBS download page.
- Choose Your Operating System
- Select the appropriate version of OBS for your operating system—Windows, macOS, or Linux.
- Click on the corresponding download button and save the installer to your downloads folder.
- Install OBS
- Locate the downloaded OBS installer in your downloads folder and double-click to start the installation.
- Follow the on-screen instructions, granting necessary permissions, and proceed through the setup wizard until OBS is successfully installed on your computer.
Setting Up OBS
- Opening OBS
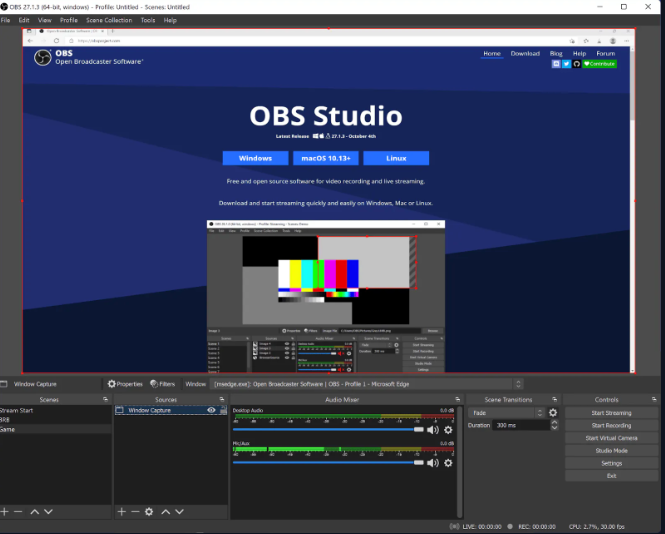
- After installation, open OBS. You will see a blank interface ready for configuration.
- Configuring Audio
- Microphone Setup: In the Audio Mixer, ensure your microphone is working by checking the activity. Right-click on the microphone option and select 'Properties.' Choose your desired microphone device, such as NVIDIA Broadcaster, to minimize background noise.
- Desktop Audio Setup: Ensure OBS captures your desktop audio by selecting the appropriate device in the Audio Mixer settings.
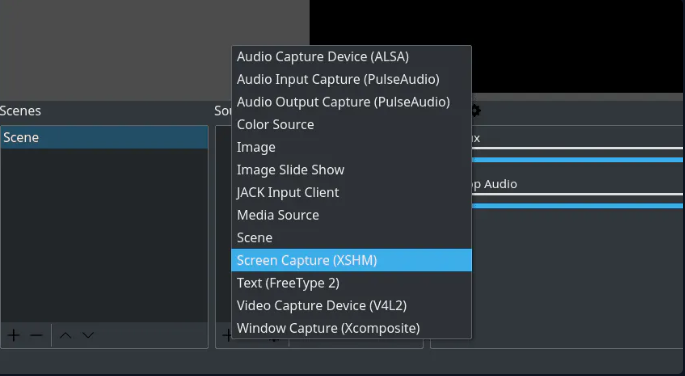
- Adding Sources
- Adding a Display Capture: Click the '+' icon in the 'Sources' box and select 'Display Capture.' Choose the display you want to capture and click 'OK.'
- Adding a Window Capture: If Display Capture isn't suitable, use Window Capture to record a specific application. Click the '+' icon, select 'Window Capture,' and choose the application window you want to capture.
- Game Capture: For gamers, use 'Game Capture' to record gameplay. Add it through the '+' icon, select 'Game Capture,' and choose the game from the drop-down list.
- Setting Up a Camera
- Adding a Video Capture Device: Click the '+' icon in 'Sources' and select 'Video Capture Device.' Choose your camera from the drop-down menu. For example, the OBS Virtual Camera is a popular choice.
- Advanced Camera Setup: For more complex camera configurations, utilize another instance of OBS to add effects like a blue background.
Final Checks and Recording
- Check Your Setup
- Before recording, ensure all your sources—audio, display, window, game, and camera—are correctly configured and functioning as expected.
- Start Recording
- When ready, click 'Start Recording' to begin capturing your content.
Final Thoughts
With your OBS setup complete, you're now equipped to start recording and streaming high-quality video content. From downloading and installing OBS to configuring audio, adding various sources, and setting up your camera, each step has been covered to ensure a smooth and efficient setup process.
By following this guide, you can confidently begin capturing your screen, games, or any other content you wish to share. Stay tuned for the next session, where we'll explore the features and benefits of Streamlabs OBS. Until next time, happy recording!