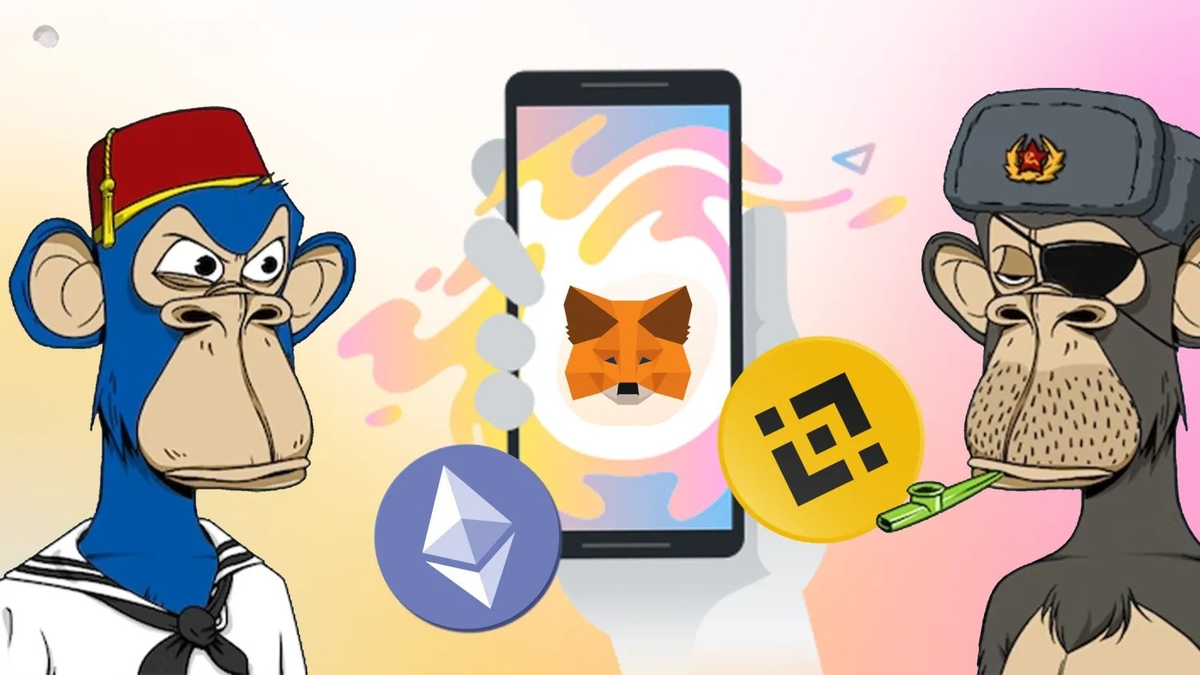
Guide to Creating a Metamask Wallet for Storing NFTs & Tokens
To engage in activities ranging from storing NFTs to borrowing through decentralized finance (DeFi) protocols and trading tokens across blockchain platforms, the first step is to create a crypto wallet.
A crypto wallet allows you to store any assets you create or purchase, as well as interact with thousands of applications built on blockchain technology.
While there are various types of crypto wallets available, Metamask is the most popular with over 21,000,000 users. It can be installed for free as a browser extension on Chrome, Firefox, Brave, and others, as well as downloaded on iOS and Android devices.

Its user-friendly interface and comprehensive features for asset management and conversion make Metamask the preferred choice among different crypto wallets.
To set up your own Metamask wallet, follow the instructions provided in this article.
Installing Metamask
First, download the MetaMask wallet software onto your chosen device by visiting the official website here. You will find the following options:
- Browser: Compatible with Google Chrome, Firefox, Brave, or Edge.
- Android: Compatible with any Android-operated phone.
- iOS: Compatible with all iPhones.

Once Metamask is installed on your device, you will encounter two options:
- Import Wallet: For users who already have an existing MetaMask wallet on another device and wish to import it to a new one.
- Create a Wallet: For users looking to set up a completely new MetaMask wallet.

Click on "Create a Wallet" to begin setting up your wallet.
Secret Recovery Phrase
Next, a screen will display the Secret Recovery Phrase, which consists of 12 random words. Copy this phrase onto paper (not digitally) and do not share it with anyone.

The Secret Recovery Phrase serves as a backup in case you lose your phone or laptop where your MetaMask wallet is downloaded. It's crucial to carefully copy each word in the exact order as displayed on the screen. The order of these words is vital because you won't be able to access your account on a new device if the words are not correctly sequenced—even if you have all 12 words correct.

MetaMask will then prompt you to enter the 12-word phrase before you can proceed to the final steps.
Using Metamask Wallet
Once you've completed the steps above, you'll gain access to your new MetaMask wallet.
There are two primary tasks you'll become familiar with when using the wallet:
- Identifying Your Wallet Address: You can share your wallet address with others or platforms like exchanges to receive cryptocurrencies/NFTs.
- Managing Transactions: This includes depositing, buying, and sending digital assets, which is a core function of Metamask.

MetaMask users typically connect to popular blockchains such as Ethereum, Binance Chain, Polygon, Avalanche, etc. The wallet automatically adds the necessary details for these blockchains whenever users connect to their products.

To start using Metamask, you'll need some coins to cover transaction fees on these blockchains:
- Ethereum: Uses $ETH for fees.
- Binance Chain: Uses $BNB for fees.
- Polygon: Uses $MATIC for fees.
- Avalanche: Uses $AVAX for fees.
Most users purchase cryptocurrencies from centralized exchanges (CEX) like Binance, FTX, Huobi, etc., and transfer them to Metamask to begin trading.
Connecting to Applications
When accessing applications on the blockchain, you'll often see a "Connect" button at the top of the screen.

After clicking on it, you'll be prompted to connect to your Metamask wallet. Then, you'll need to log in and approve a transaction to complete the connection process (this confirmation does not incur fees; it simply proves you own the wallet).
Storing NFTs on Metamask
Metamask allows you to manage NFTs stored within the wallet, currently available on Android and iOS devices.
If your wallet holds NFTs and you wish to display them within the wallet, follow these steps:
- Navigate to the NFTs section in the Metamask wallet interface.

- Enter the address and ID of the NFTs you own.

- View the NFTs appearing within your Metamask wallet.

These instructions serve as a beginner's guide to using Metamask for storing NFTs and cryptocurrencies.
Web3 applications, NFT gaming platforms, DeFi protocols, etc., now require users to utilize crypto wallets for connectivity. Metamask, being a popular, free, and versatile hot wallet, is suitable for all users.